
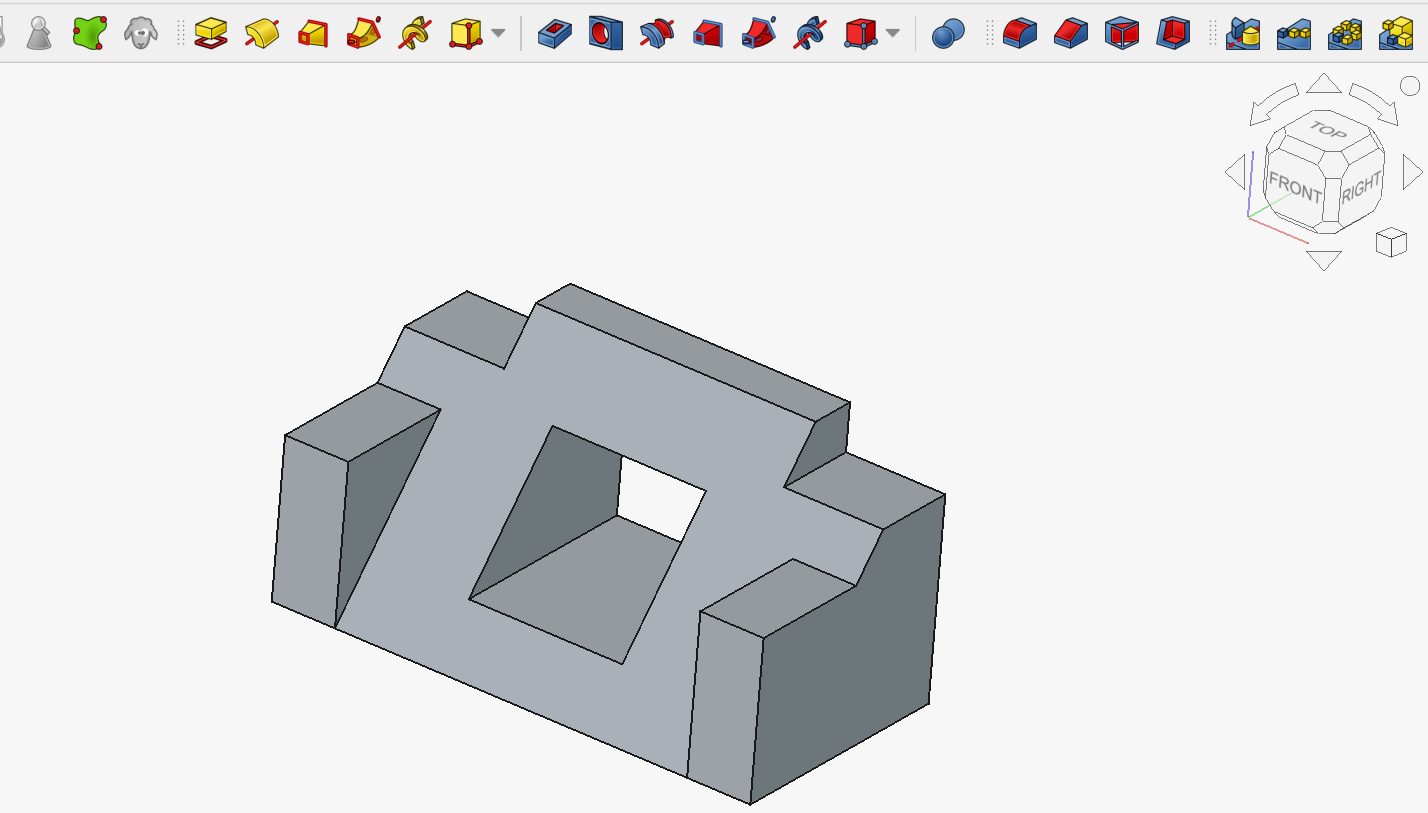
Here is the first model I made! I think I was the only one who choose to use the math tutorial. I think it was easier because I had to do less by hand and more inputting formulas/calculations. Not too much to say in a write up here as I just followed the directions.
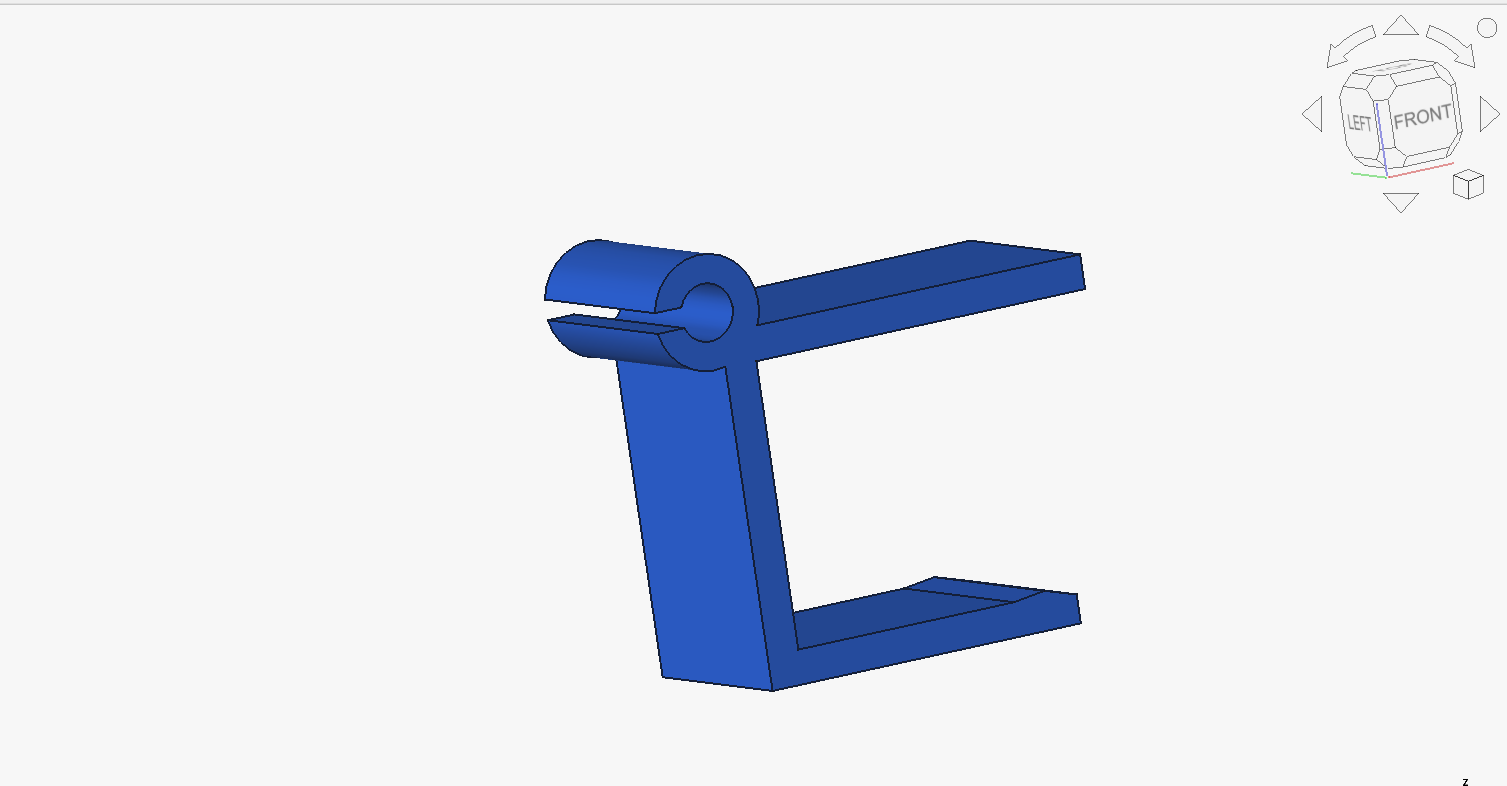
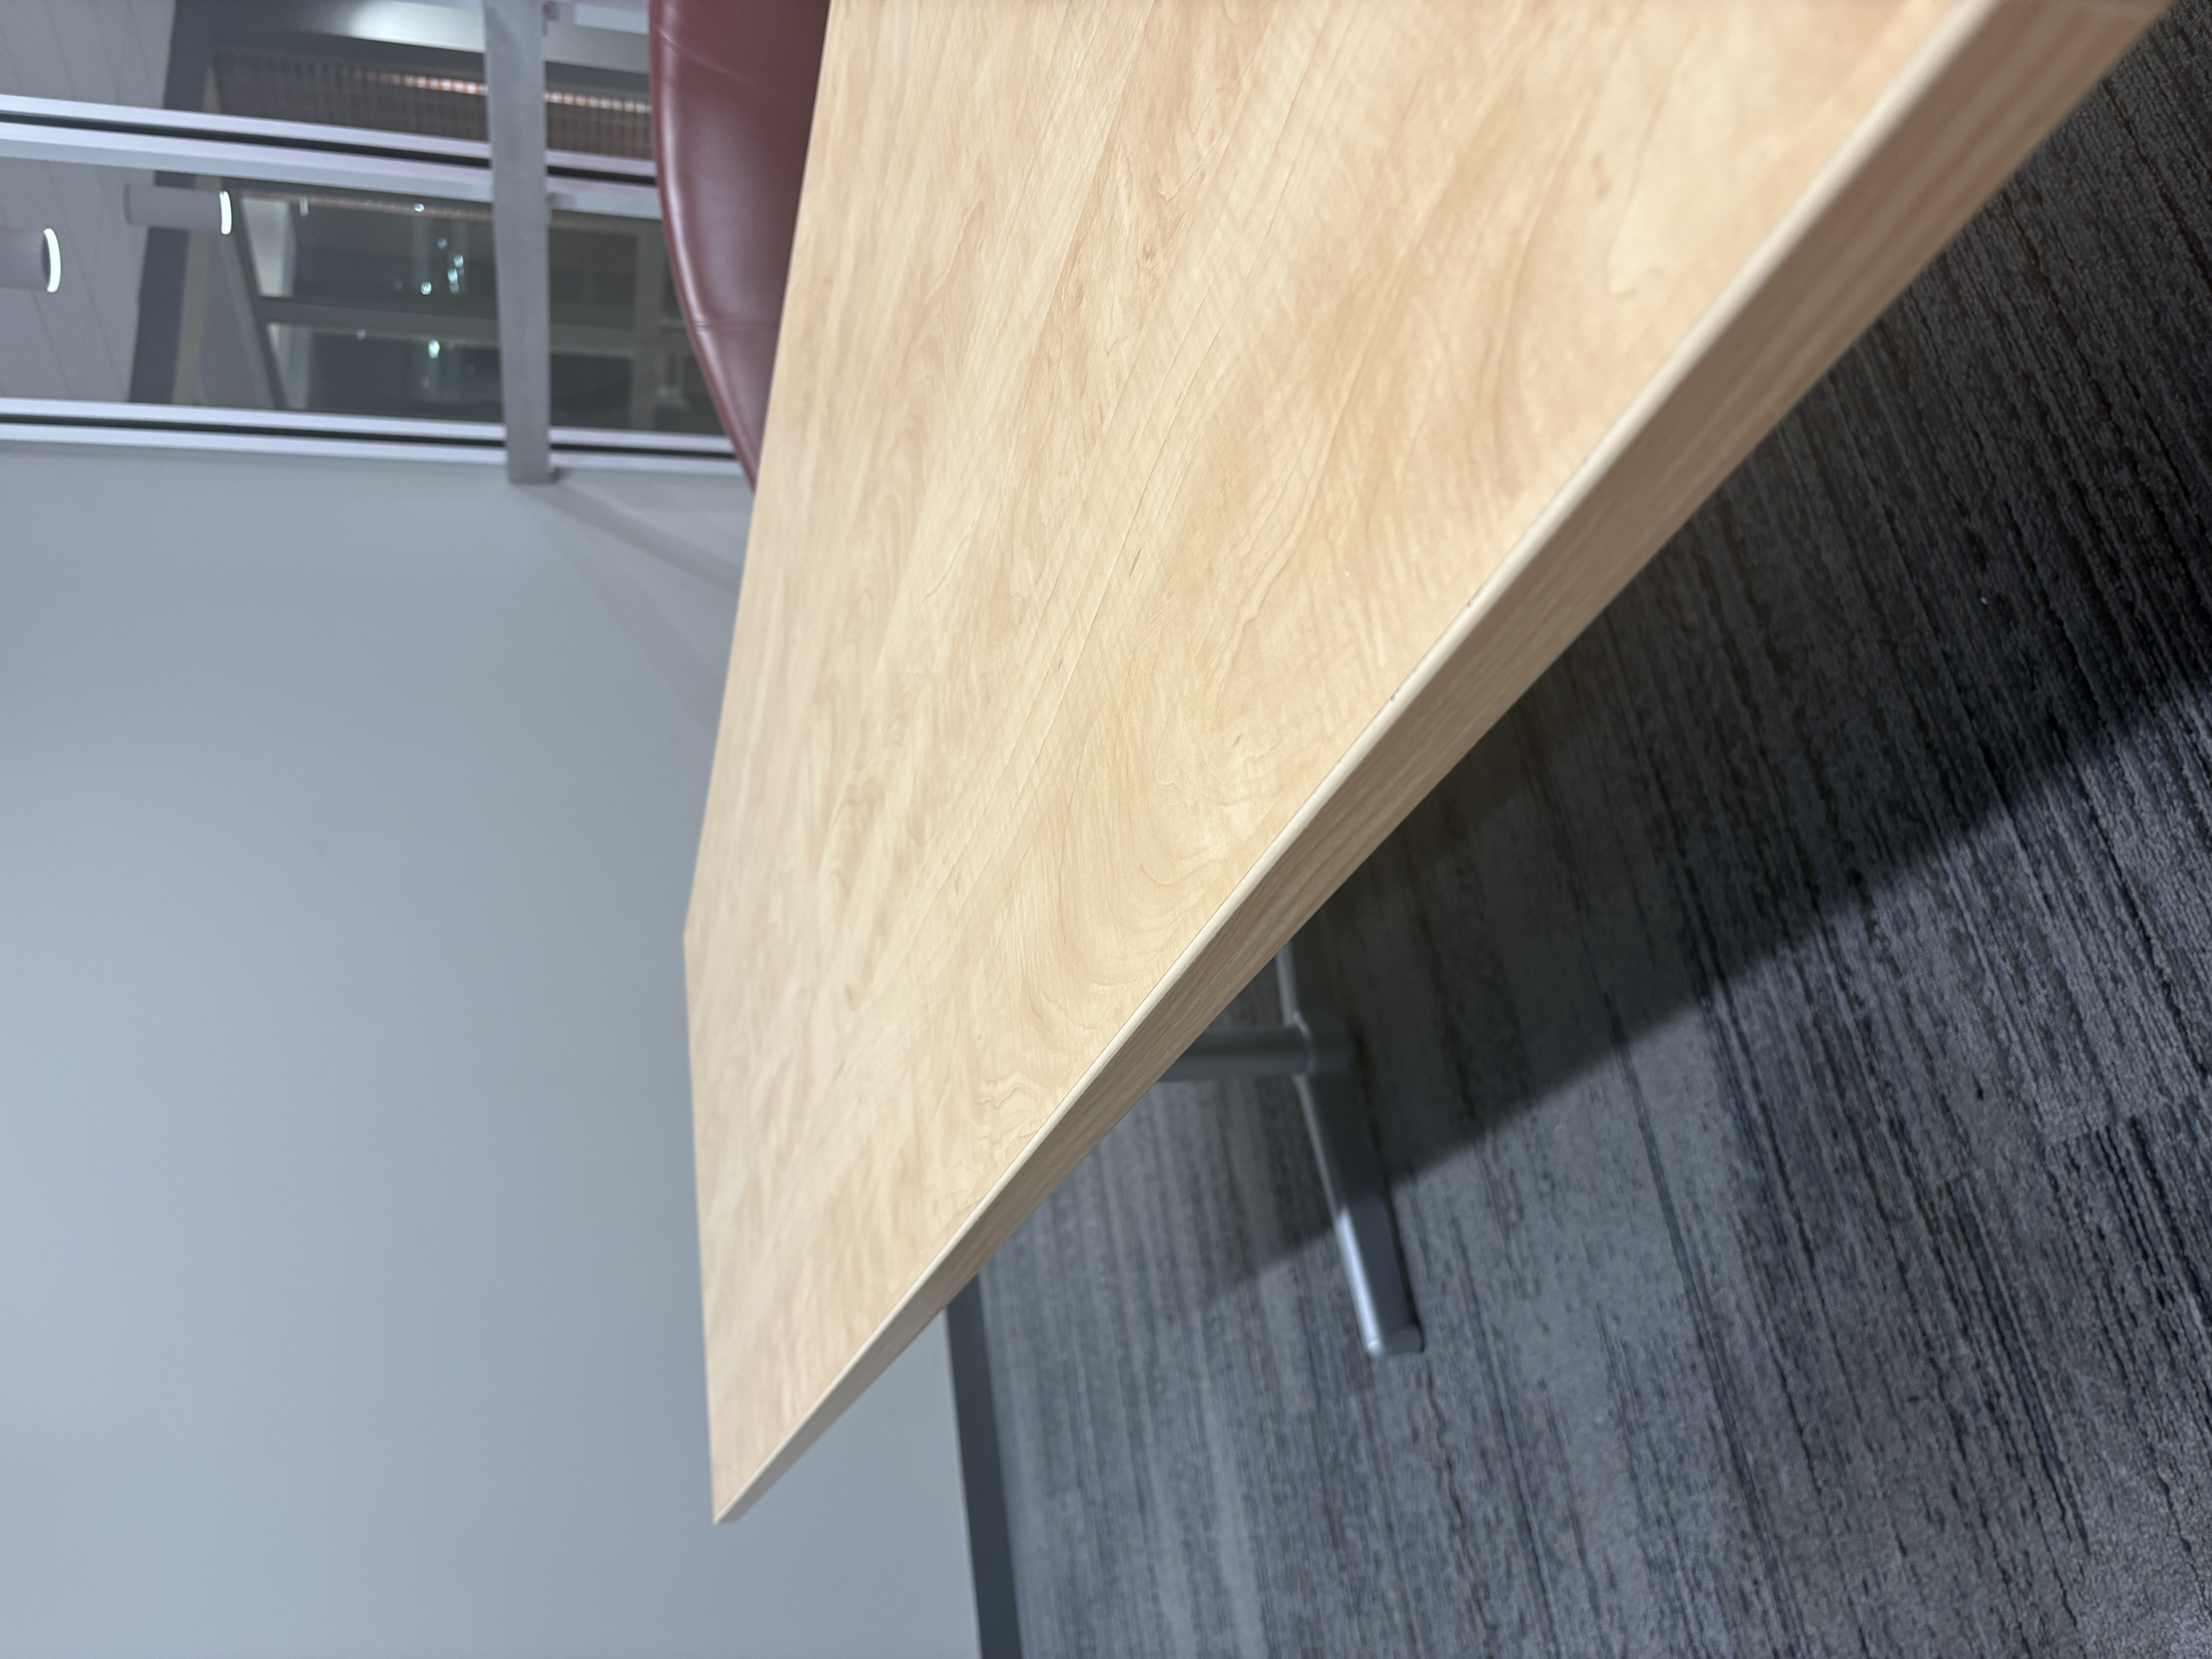
Here is model two. My cord holder is designed to fit onto the edge of the desk I included a picture of. The idea is that you can slide the cord through the tiny horizontal slot and then the head of the cord will prevent it from slipping out because the head doesn't fit through the tiny hole. These are the general steps I used to create it. I created the C shaped hook using connected straight lines and then padded everything to give it depth. I then made a circle near the top overlapping the hook and padded that. I put and padded a smaller circle shape inside the circle at the top and pocketed it to make the slot the cord rests in. Lastly, I made a rectangle shape and pocked that to create the slot where the cable can snap in.
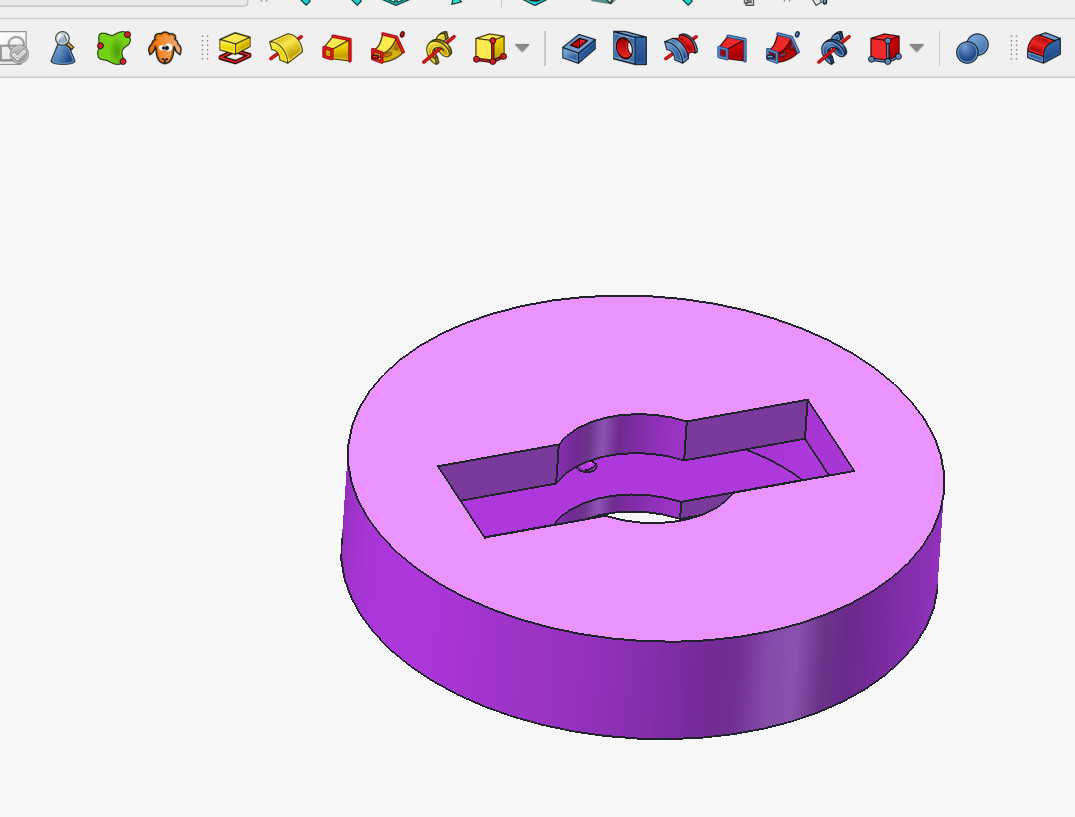
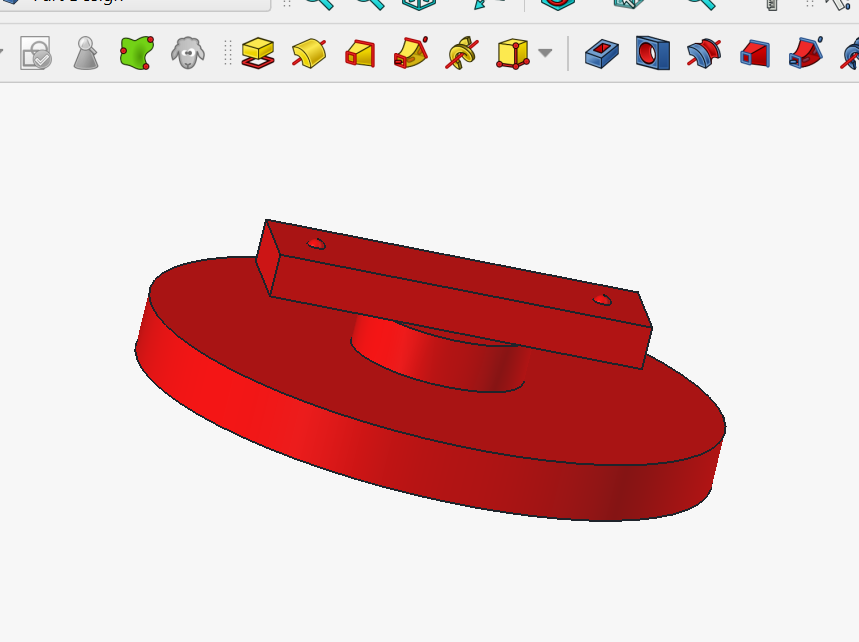
Lastly, this is model three. I thought for a while for a while on the easiest way to create two things that stick together while not making something impossibly hard in FreeCAD. I settled on this design. Basically, you take the part with the external facing pieces and place it inside the purple piece. Then you twist it and it should stay decently. To improve this even more I added two small groves / indents that theoretically should allow the pieces to snap into place and hold each other even better. I feel like you could connect these pieces and they wouldn't come undone, no matter how you held them. I made this by first creating the external piece from a circle and padding it to create the base. I then did a smaller circle and padded that on top to make the center stem. Then I did a padded rectangle on top with the two raised bumps. For the second part where the external part slide into I started with a padded circle as well. I used a rectangle and circle to make matching openings where the part could slide into. Lastly, I created a wide circular pocket inside with 2 spots where the raised bumps would catch along with the main part part of the other piece.